Jeff Bradbury is an author, podcaster, public speaker, creator of the TeacherCast Educational Network and father of the world famous #EduTriplets.
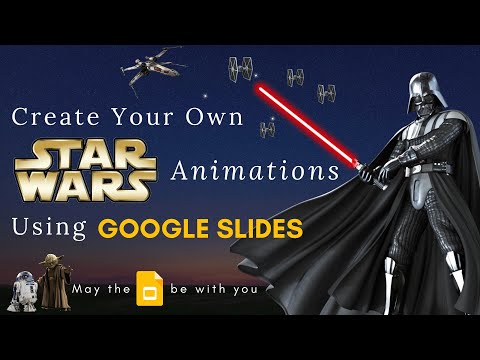
Are you looking for an engaging and creative way to incorporate digital learning into your classroom? Look no further than Google Slides Animation Projects!
Google Slides is often thought of as a traditional presentation tool. Yet, in the hands of students and their creativity, the possibilities are endless. The best part is that this project can be used repeatedly. It works with countless topics in all grade levels.
To download all of my templates and presentations, please visit: https://www.teachercast.net/googleanimations
In this post, we’ll explore how to use this versatile tool. It can help create exciting stop motion animation projects with your students.
Why Use Google Slides Animation Projects?
Google Slides isn’t just a PowerPoint substitute – it’s a powerful platform for creative projects. Here’s why it’s perfect for stop motion animation:
- Easy to use and accessible for students of all ages
- Collaborative features allow for group projects
- No need for specialized software or equipment
- Teaches valuable digital skills alongside curriculum content
How Google Slide Animation Works
Just like a traditional flipbook, you can use Google Slides to position transparent images on a common background. Over the course of several slides, move them into various positions as the slide deck moves ahead. You can watch this video to understand how simple it is to copy an image. Then, you can paste it across an entire presentation.
When you get to the second and third characters in your story, you copy the image. Then, you paste the image instead of creating a brand new slide.
The principle behind stop motion in Google Slides is like a traditional flipbook:
- Position transparent images on a common background
- Move the images slightly across several slides
- When played in sequence, it creates the illusion of movement
Students can easily copy and paste images across slides, adjusting their position to create smooth animations.
Step-by-Step Guide to Creating Google Slide Animations
Creating stop motion animations with Google Slides is a straightforward process that anyone can master. By using a few simple steps, students can bring their ideas to life through engaging animated sequences. Here’s a concise guide to help you and your students get started with this exciting digital storytelling technique.
- Set up your background: Choose or create a static background for your animation.
- Add characters or objects: Insert transparent PNG images of the elements you want to animate.
- Duplicate slides: Copy your first slide multiple times.
- Make small changes: On each slide, slightly adjust the position of your animated elements.
- Add transitions: Use slide transitions to control the speed of your animation.
- Play and refine: View your animation and make adjustments as needed.
Curriculum Integration Ideas
Once your students have mastered Google Slides features like drag, drop, flip, grouping, transparency, and recoloring, you can introduce the concept. Teach each feature until they feel comfortable using them. Then incorporate it into a curricular project.
One of the best ways to introduce this lesson in your classroom is at the end of the week. I recommend doing this activity on a Friday after lunch. At this time, your students are energized to go home. They can spend the weekend creating something extraordinary. On the next Monday or Tuesday, you can host a film festival for them to showcase their work. This approach allows students to test their digital learning skills. It also puts the application’s learning directly in their hands.
Stop motion animation with Google Slides can be adapted to various subjects:
- Science: Animate cell division or the water cycle
- History: Illustrate exploration routes or historical events
- Math: Create visual representations of equations or geometry concepts
- Language Arts: Bring stories or poems to life
Tips for Success
- Introduce the project on a Friday, allowing students to work over the weekend
- Host a “film festival” the next week for students to showcase their work
- Teach Google Slides features like drag, drop, flip, grouping, and transparency
- Encourage creativity and experimentation
Conclusion
Using Google Slides for stop motion animation is an innovative way to engage students in digital learning. It also reinforces curriculum concepts. It’s a versatile, accessible tool that can transform your classroom into a creative studio. Give it a try and watch your students imaginations come to life!
Download This Project Template Today!
For more resources and templates to get started with Google Slides animations, visit: https://www.teachercast.net/googleanimations
Join my Newsletter Today!
Stay updated on our latest podcasts and educational news articles by filling out our contact form below.
Discover more from TeacherCast Educational Network
Subscribe to get the latest posts sent to your email.
دیدگاهتان را بنویسید